
Make a Memory Wreath as a Memorial Keepsake for Your Family or a Friend
Interested in making a special memorial keepsake?
Look no further. This DYI project shows you, step-by-step, how to create a unique memory wreath using photos, picture frames, and in loving memory keepsakes and mementos you’ve saved as a reminder of special times.
This easy-to-follow tutorial on how to make a beautiful memory wreath includes an instructional video, along with a written list of the supplies you’ll need and directions.
Make a keepsake wreath to display in your home, or as a memorial gift for a friend or loved one today. You’ll be creating a special memorial keepsake that will be treasured forever!
How to Make an ‘In Loving Memory’ Wreath: Instructional Video
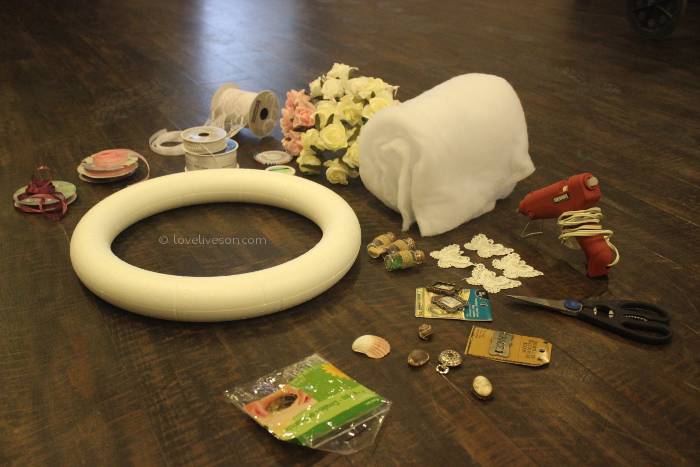
List of Supplies for Making an ‘In Loving Memory’ Wreath
Here’s a list of supplies you’ll need for the memorial keepsake craft. These items may be purchased at your local craft store, discount dollar store, or online at Amazon.
- 14″ (36cm) foam base.
- Polyester batting.
- Dried or artifical flowers (we used artificial flowers).
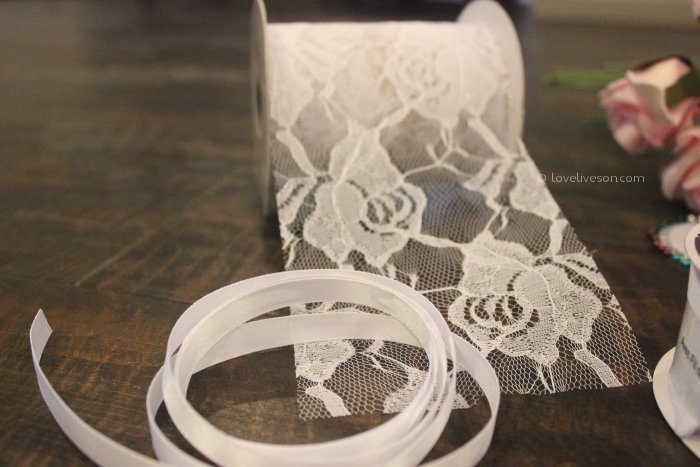
- 10 yards (9m) of 2 1/2″ (6.4cm) white lace.
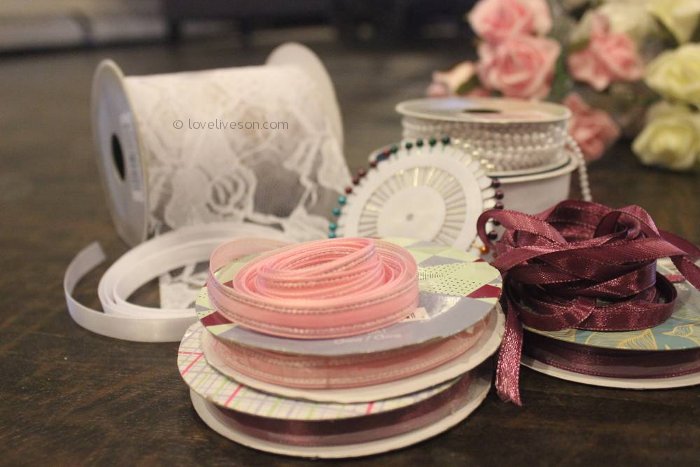
- 4 yards (7m) of narrow (1/4″ to 3/4″) [6mm to 19mm]) ribbon in a colour of your choice. (We chose burgundy ribbon.)
- 4 yards (7m) of narrow (1/4″ to 3/4″) [6mm to 19mm]) ribbon in another colour that’s complimentary to the other narrow ribbon above. (We chose pink ribbon.)
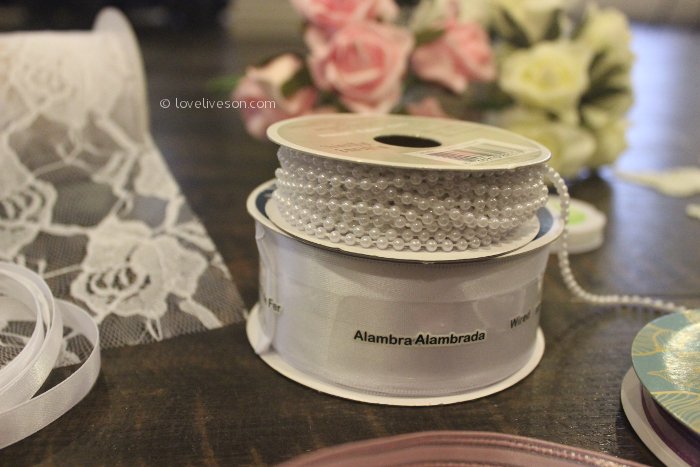
- 4 yards (3.5m) of string pearls (optional).
- 3 yards of 1 and 1/2 (1.3cm) wired white satin ribbon for the bow. (While we chose white, you can choose whatever colour your prefer.)
- 1 yard narrow satin ribbon in the same colour as your bow. (Again, we chose white.)
- Small photos of your loved one.
- Small picture frames for your photos.
- Keepsakes and other mementos that remind you of your loved one. Examples: shells from a sea-side holiday, movie or concert ticket stubs, jewelry, a locket of hair, broach, etc.
- Florist pins.
- Straight pins.
- Hot glue gun.
- Scissors.
Steps for Making a ‘In Loving Memory’ Wreath
We’ve outlined here the steps you need to follow in order to complete this memorial keepsake craft project in case you missed anything in the instructional video above.
Step 1: Wrap the Foam Base With Polyester Batting
The first step in creating your memory wreath is to cut the polyester batting into 3″ (8cm) wide strips.
Next, use a dab of glue and a florist pin to secure the beginning of the first strip of polyester batting to your foam base. Wrap the strip around your base so it’s taut, but not tight. Keep a consistent width in the overlap to achieve a nice, even layer of padding.
When you come to the end of a strip, secure it along with the beginning of the next strip using a dab of hot glue and a florist pin.
Continue this process until your memory wreath is completely covered with at least one layer of generous, evenly-layer padding.
Once you have at least one layer of padding, consider if you would prefer more padding (i.e. do you want a memory wreath that is thicker in diameter?)
If you do want a thicker memory wreath, add a second (and perhaps even a third) layer of polyester batting, using the same technique.
Step 2: Wrap the Memory Wreath with Lace
Once you are satisfied with the thickness of your memory wreath, it’s time to cover the batting with one long and continuous piece of lace.
Begin by securing one end of the lace to the batting with a dab of hot glue and a florist pin.
Next, wrap your lace around your memory wreath, keeping the lace taut, but not tight. As with the batting, maintain an evenly spaced overlap all the way around the memory wreath.
When your memorial keepsake is completely covered in lace, secure the end of your lace with a dab of hot glue and a florist pin.
Step 3: Wrap the Memory Wreath with Narrow Ribbons
Cut 4 yards (3.5m) of your narrow ribbon in each colour. (We used burgundy and pink ribbons.)
Pin the burgendy ribbon to the front of your memory wreath, near the point where your lace ends. (Later, you will place your artificial or dried flowers over this area to hide the rough edges and pinheads.)
Spiral the burgendy ribbon evenly around your wreath, and pin the end near the same point you started. You have now completed your burgundy ribbon.
Take your second ribbon, (in our example, a pink ribbon), and wrap it around the memory wreath, but this time, going in the opposite direction.
By wrapping the second ribbon in the opposite direction, you will create a crisscross pattern on your memory wreath, which is very pleasing to the eye.
Special Ways to Commemorate a Loved One…


Step 4: Add a String of Pearls to Your Memory Wreath
Repeat step 3 above using your string of pearls. Remember to wrap your string of pearls in two directions in order to achieve a crisscross pattern.
(If you are making a memorial keepsake for a man, you may wish to omit adding the string of pearls.)
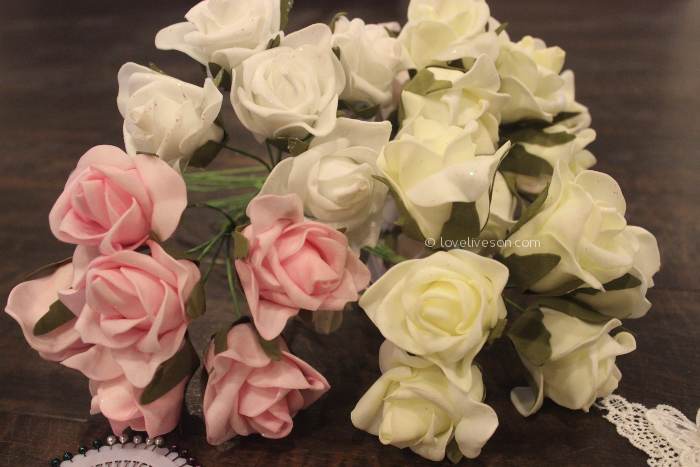
Step 5: Add Dried or Artificial Flowers to Your Memory Wreath
In the memory wreath we made in the instructional video, we used artificial flowers.
You may however, use dried flowers. It would be a lovely idea to dry some flowers from a special garden, park or woods, to add to your memorial keepsake. You may even use dried flowers from a funeral flower arrangement. If you choose to use dried flowers, ensure that they are completely dry before adding them to your memory wreath.
The first thing you need to do is assemble the flowers to form two miniature bouquets.
Place a few larger flowers behind smaller ones and securing the stems together with a dab of hot glue to form one bouquet. Repeat this process to form your second bouquet.
Place one bouquet over the ending of your lace and narrow ribbons so that the edges will be hidden by the bouquet. Secure the bouquet in place with hot glue and a straight pin.
Attach your second bouquet in another area. (Again, if there is a place that looks a little messy from a previous stage, use the bouquet to cover it up.)
If you have spare flowers left over, you may wish to randomly attach them throughout your memory wreath.
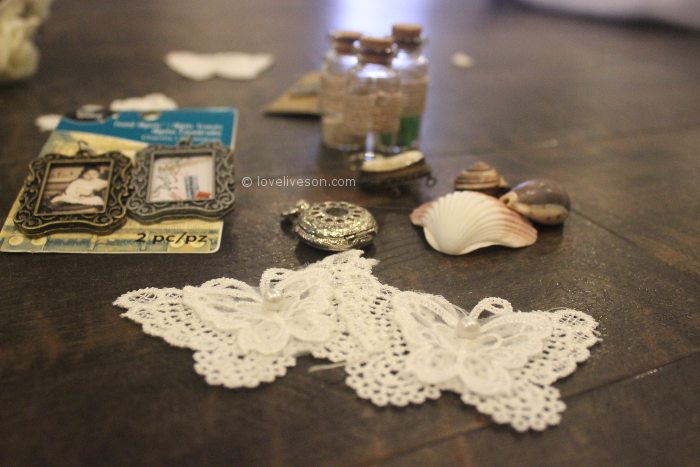
Step 6: Add Special Keepsakes and Mementos to Your Memory Wreath
Now for the extra fun part!
First, map out where you are going to add your keepsakes to your memory wreath. It looks nice to place mementos in groupings, rather than having them singularly spaced.
Once you are happy with the overall design, hot glue or pin your keepsake in place.
Since our memory wreath was made for a grandmother, for the keepsakes we used butterflies made of lace, small bottles of sand and sea shells from a sea-side holiday, a cameo broach, a locket, a charm bracelet, and small photo frames.

Related Articles


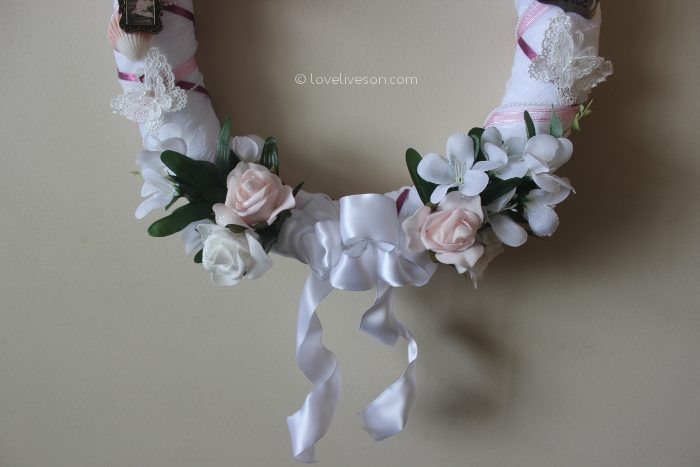
Step 7: Make a Stacked Bow for Your Memory Wreath
Now that you’ve completed the main portion of your memory wreath, it’s time to make your stacked bow. Here you’ll need 3 yards of 1 1/2″ (1.3cm) wired satin ribbon in white, (or whatever colour you want), along with 1 yard narrow satin ribbon in the same colour.
Using the wide ribbon, begin by making two loops to establish the width of your bow. Make two more loops of roughly the same size.
With a generous length of narrow ribbon, tie off the centre of your bow tightly. (Do not trim the excess off the narrow ribbon just yet.)
Cut the tails of your bow to the desired length. You now have the bottom layer of your bow.
Now, make a second four-looped bow, (but this time, make the loops slightly smaller than the first one). This will form the top layer of your bow.
Once you have formed the top layer, (with slightly smaller loops), tie this layer to the first layer with the narrow ribbon in place. (This is why we didn’t want you to trim the excess.) Try and keep the knot on the back of your bow.
Once the two layers of ribbon are attached together, you can trim off any excess off the narrow ribbon.)
Once you’ve completed your stacked bow, you simply attach it to your memory wreath using another piece of narrow ribbon. Go through the bow and around the base of your wreath. Double knot it so that it is secure.
Step 8: Attach a Ribbon to Hang Your Memory Wreath
Now, for the last step.
Take a piece of small ribbon and form a little loop. Secure the ends of the loop to the top of your memory wreath using hot glue and a straight pin. This will be the hook for your memory wreath so that you can hang it on your wall.
Your stunning and unique memorial keepsake is now ready to hang in your home. Enjoy!

Additional Resources
Did you know that Love Lives On has a comprehensive library of articles on love, life and loss?
Here are some other popular posts on our website:
- 3 unique DIY commemorative craft ideas for kids
- Ultimate collection of sad songs for when you need a good cry
- Make a unique social media post to share on social media (free for a limited time!)
It Helps to Share…
If you found this craft tutorial on how to make your own memory wreath helpful, follow Love Lives On on Facebook or subscribe to our YouTube channel or browse our Pinterest board for more inspiring ideas to help you celebrate his or her wonderful life and legacy.
Did you make a memorial keepsake wreath? Use the comment box below to share a picture of it — we’d love to see your handy-work!